How to power a car amp at home?
You can connect a car amp to a wall plug by connecting its power terminals to an AC to DC inverter. The inverter converts the incoming 110V AC supply into 12V DC voltage and supplies it to the car amplifier.
You can also blast the powerful sound of a car amp at home as long as you know how to connect a car amp to a wall plug. Car amps operate at 12-14V DC supply and wall sockets offer 110V of AC voltage. So, you will need to transform the given AC supply into the required DC voltage to run your car amp through a wall plug. If you want to wire a car stereo to a wall plug see this article.
Here, we will walk you through how you can connect a car amp to a wall plug and enjoy its impeccable high-fidelity and bass-heavy performance.

Table of Contents
1. Determine the Amperage Rating of Your Car Amp
First of all, determine the amperage rating of your car amp. You can do that by looking at the input power specifications mentioned in the user manual of the amplifier. If you don’t have the manual or can’t find it, take the internet’s help. Search for this term on Google:
The current draw of [insert the brand and model number of your car amp] in amperes.
You will find the amperage rating from the official website or reliable car audio forums.
2. Buy an AC to DC Inverter
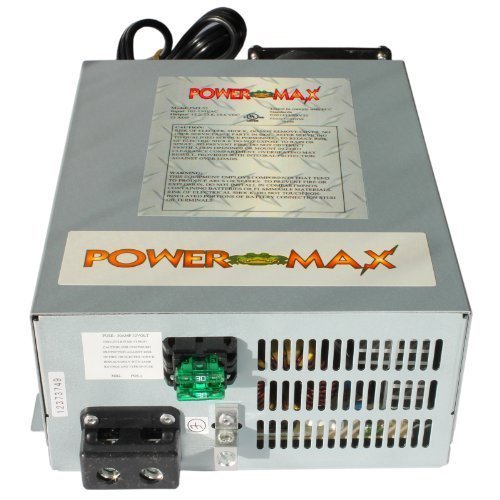
Get an AC to DC power inverter that can transform 110V AC voltage into a 12V steady DC supply. While choosing the inverter, make sure it boasts the current rating in the range that accommodates the amperage draw of your car amp.
3. Wire the Inverter with the Amp
This step is critical for connecting a car amp to a wall plug. Let’s break down this step into further sub-steps.
- Take two 10-gauge wires in black and red colors and a 16-gauge yellow or white wire. Cut all three wires in a length so they can easily pass from the amp to the inverter.
- Remove half-inch insulation from both ends of each wire through a wire stripper.
- Loosen the power terminals (marked “+” and “-“) and the REM terminal of the amp through a screwdriver. Then, pass the peeled ends of the red wire through the positive terminal, black wire through the negative terminal, and yellow/white wire to the REM terminal. Tighten the terminals again so that the wire can be firmly clamped to their respective terminals.
- Now, loosen the inverter’s terminals. Unlike amps, an AC to DC inverter will have two (positive and negative) terminals. First, pass the other peeled end of the black wire through the negative terminal of the inverter and tighten it. Then twist the peeled ends of red and REM (yellow/white) wires coming from the amp and slide this combination through the positive terminal of the inverter and tighten it.
Ensure all the wires are connected firmly to their respective terminals on the amp and inverter before moving to the next step.
4. Plug the Inverter into a Wire Socket
After the wiring discussed above, you will get an assembly of the amp and inverter. You can then plug the inverter’s power cord into a wall socket and switch it on like any other appliance. When you can see that the inverter has been switched on, tap the power button of the car amp.
If everything goes right, your amp will come alive from the wall plug via the AC to DC converter.
What You Will Need to Follow This Guide
- Wire stripper and screwdriver
- 10-gauge wires with black and red insulations
- 16-gauge wire with yellow/white insulation
- An AC to DC inverter (110VAC to 12VDC)
Last update on 2025-07-06 / Affiliate links / *Image Disclaimer: We use images/data from Amazon Product Advertising API solely on products that link to Amazon. On products with the "Price at Crutchfield" button, we use images/data from Crutchfield.com as per the partnership deal.